How to DJ for Complete Beginners 2021 Detailed Guide
In this post, I’m gonna give you a guide on how to DJ for complete beginners. If you already know how to DJ and just want to see what this post is all about then please feel free to scroll to any of these titles because you might learn something new.
If you’re a complete beginner who doesn’t know anything about Djing, I’ll start this guide with a brief overview of what DJ is then another overview on the equipment in general followed by two of the easiest and least controversial methods of mixing and DJ.
What does a DJ do?
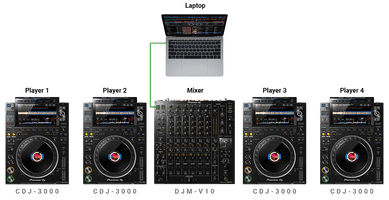
The overall objective of a DJ is to play and mix music for the crowd. When you see a DJ one is technically mixing two songs together and the tools that enable that to happen most of the time are 2 DJ decks and a mixer.
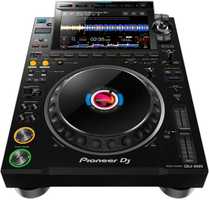
But these club-standard DJ tools you see often at parties cost over $5,000. Seriously and to be completely honest with you if you’re starting out as a beginner DJ please don’t buy any of this.
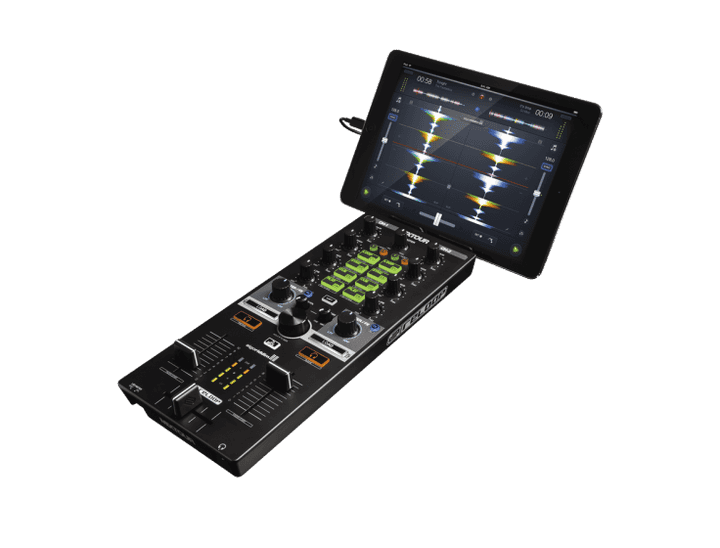
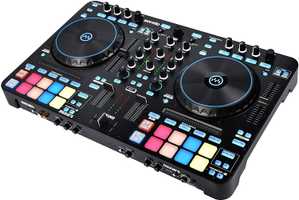
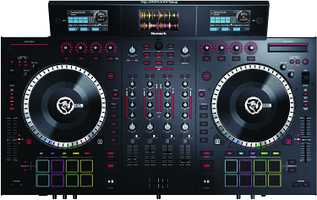
You’ll be much better off buying any of these DJ controllers: (DDJ-SB3, DDJ-400, S2-MK3, Impulse 300) that cost around $250 and below. Because all DJ equipment and I mean all of them basically and essentially do the same thing, playing and mix music.
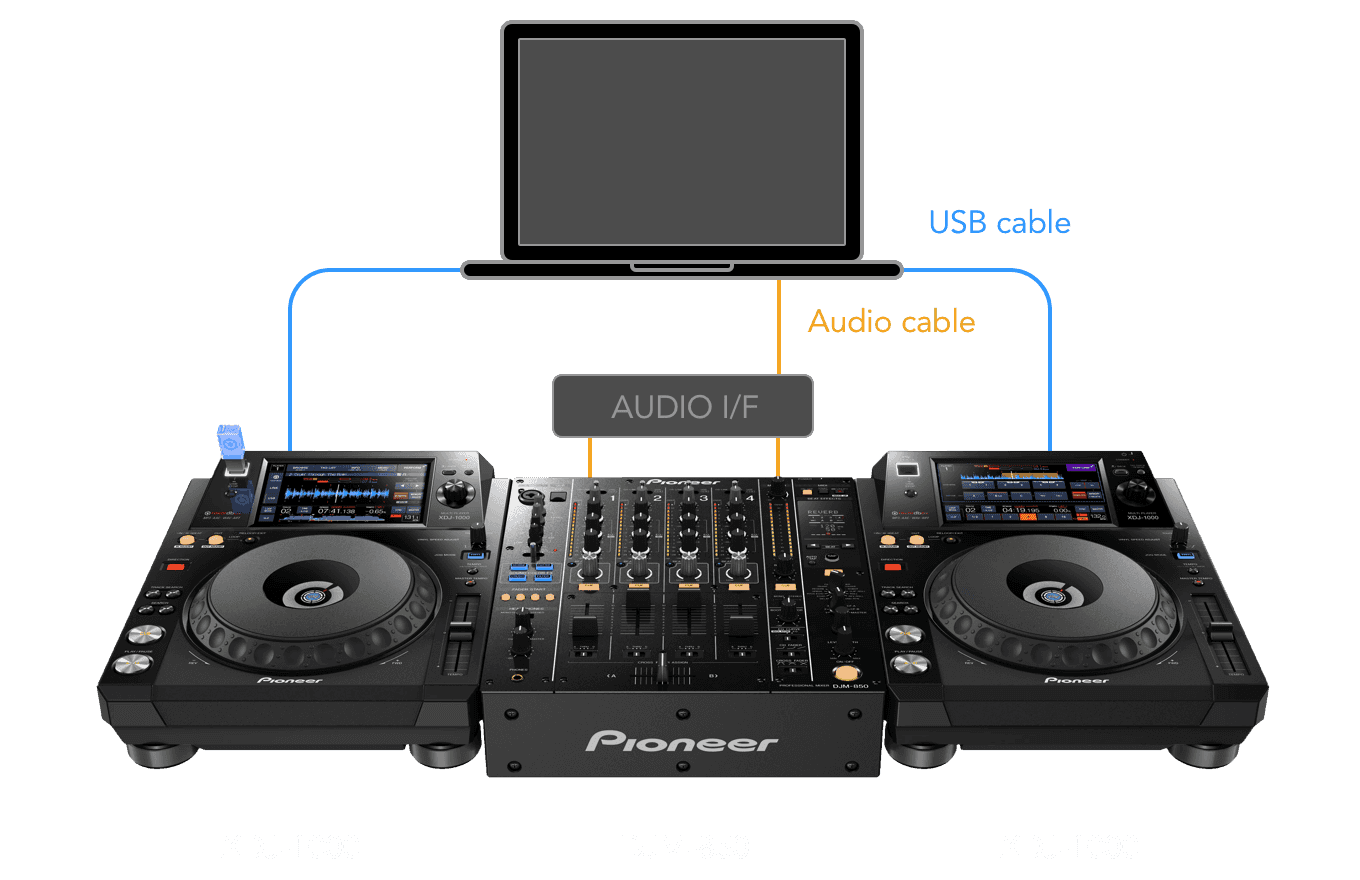
The reason why these guys cost so low is that they utilize DJ software which requires a computer. That DJ software basically does everything and those controllers just give you a tactile and physical way to control your software. That’s why they’re called DJ controller.
There are many DJ controllers and offers out there but they all look and do the same thing. So what I’m about to discuss with you can pretty much apply to any DJ equipment you may have.
DJ’ing & Gear Breakdown
Let’s first break down the equipment then teach you how to DJ and mix with it. The first thing you want to do is plug in your DJ controller and open up your DJ software. The white and red outputs on the back of your controller send the master volume of your mix to your speakers.
The little input is for your headphones which will be the audio you hear when you’re prepping and mixing songs.
You may be wondering what’s the point of connecting your headphones to your controller when your speaker’s ready to output the sound to you and your audience?
It’s because your headphones when plugged in give you the ability to pre-hear what you’re doing when you’re prepping your song to mix for the crowd. Because not all songs are the same, some are faster some are slower some are in different keys, and some of the different structures.
The point of mixing is to transition one song to the other despite their differences. The bigger their differences the harder they are to mix but as DJs, it’s our job to find a way to proficiently and smoothly transition and blend two tracks together to make a cohesive clean mix.
Since you’re starting on the beginner DJ let’s first do another transition between songs that are on the same speed and tempo or what be professionally refer to as BPM or (beats per minute). First try to mix a couple of songs that are between 124 to 127 BPM.
Navigation & Song Overview
The first thing to do is load your songs to your respective decks on the left side is deck 1 and on the right side is deck 2. Let’s use the browser knob to browse through our songs, so once you find your first song click the load button on the left and that’ll bring your selected song to deck 1.
Once you find your preferred 2nd song click the load button on the right and that’ll bring your selected song to deck number 2.
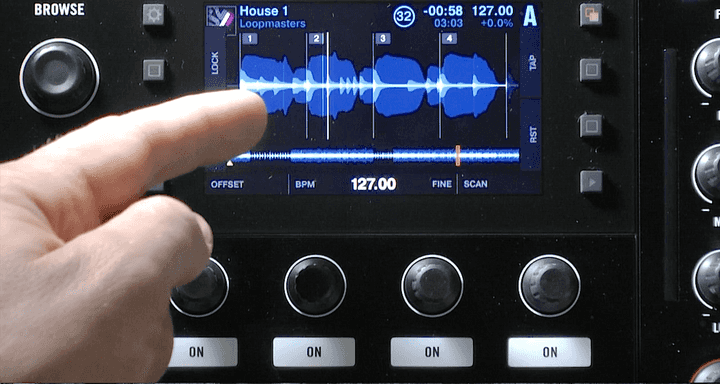
Once you know your songs your software automatically determines their BPM and creates a beat grid. You can think of your bead grid as a visual guide and series of markers that point to the location of beats within the track.
Speaking of tracks most DJ-friendly tracks have an intro and outro section these will be the sections that will primarily do our mixing.
Deck Section Guide
With our tracks analyzed and loaded onto their decks let’s discuss the deck functions both texts basically do the same thing to their respective song that’s why they look alike. But their four most important functions are the following:
1. The play/pause function. This green button toggles between playing and pausing your track.
2. The Cue function. The orange button Cue’s and reads your track from its first (Detected, Beatgridded) beat. If you press play too soon or too late you can quickly go back to the start of a song and stop the deck.
3. The tempo fader function. This long fader controls the BPM of your song. Drag it up to make the song slower, drag it down to make the song faster. When it’s in the middle it’s in its neutral state at zero.
4. The jog wheels. They temporarily speed up or slow down your song when you push or pull them from their side. Pushing your jog wheel will help the beat grid go further along (faster), pulling your jog wheel will help the beat grid remain in its place (slower).
5. These other functions basically are the tools you will use to beat match songs that aren’t in the same BPM with each other.
Mixer Section Guide
With our 2 songs loaded up and you knowing the very basic functions of the deck section let me discuss with you now the mixer section. This area is in charge of being a section or e blend and mix songs. The four most important functions of the Mixer section are the following:
1. The volume fader area. This section is in charge of the volume of each respective deck. They control the volume of each deck (Deck 1 – Left Deck 2 – Right).
2. The cross-fader section. This section has many functions but at its default, it basically controls both volumes of each deck simultaneously. If the crossfade is on the left side deck 1 will be at its loudest and vice versa. If the crossfade is on the right side deck 2 will be at its loudest and vice versa. Using the crossfader is by far the simplest and easiest way to mix between two songs.
3. The EQ (Isolator Mode). These knob’s highs mids and lows further control the frequencies of the song. To keep things really simple you can just think of these knobs as three parts that comprise your volume. The low controls the low bassy-like frequencies of the song. The mid knob controls the acapella-like/mid instrumental frequency of the song. The high knob controls the higher frequency sections of a song. Since you’re starting out these knobs should be mostly kept at the 12 o’clock position when mixing and blending. Train first your ears to blend songs via the volume faders.
4. The headphone cue section. This section allows you to pre-hear what’s going on on each deck regardless of the level of the volume they are both at.
First Transition Lesson
Now that we understand the basic functions of the deck and mixture section let’s do our first transition.
The game plan of your first transition is to simply mix the next song at the outer section of the current song. So you want to mix the next song exactly at the intro of the next song and play the next song at that exact point is the most important step of this whole process. Let’s begin our first transition lesson.
1. Make sure your crossfader is to the left side on deck 1, your volume faders are all the way up your tempo faders are in the middle, and your EQ sections are all set to the 12 o’clock position.
2. Load your first song play it and wait for its outro section. This will be the part to get at your audience to enjoy and dance to the song. This will be the part where you look at the first song’s BPM and verify it, so it’s set to 124 let’s keep that in mind.
3. As a first song plays go to your second song to deck number 2. Simply just have both faded two have the same BPM as a first song. Let’s say the second song is at 180 BPM instead of 125 so let’s drag it up to decrease it, so that’ll match the current song’s BPM. With that out of the way just wait for the second song’s outro section. To have an easier time adjusting your BPM with the next song, you can always use beat-sync. That’ll match the tempos.
4. The most important part now, at the exact moment to reach the outer section play your second song and make sure the beat grids are aligned with each other. Your timing of playing the next song may be off so be ready to use your jog wheels to bring the beatgrids aligned and together with each other.
5. As both songs play smoothly drag the crossfader from all the way from the left side to the right side to completely transition to the next song. Congratulations you’ve just made your first transition. Let’s keep this up and transition to the next song.
6. Load the next song, match its BPM with the currently playing song’s BPM, then wait for the next song’s outro section.
7. Important step. Once you reach the transition point (outro section) play the next song, and use your jog wheels to correct any mistiming. You can verify if things sounding good using your headphone cue functions. Every DJ uses this function to cue and prep their next song. So practice heavily with it, to train your ears.
8. Drag the crossfader all the way from the right side to the left side to complete your transition. If you want to continue mixing simply repeat this process starting from step number 1. If you’re feeling pretty confident as a DJ it’ll be time to start going your career, making mixes and especially Djing life.
Pro DJ Transition Technique
Once you master using the crossfader let’s move on to just mixing with the volume fader in the EQ section which most professional DJs prefer for more control. The main idea is for more control over your songs to mix smoother and cleaner.
1. Make sure deck one’s volume faders all the way up, the crossfaders in the middle section, let those volume faders all the way down, your type of faders in the middle, and your EQ sections are all set to the 12 o’clock position.
2. Load your first song to deck 1, play it, and wait for the outro section because that will be the place where we’ll mix the next song in.
3. As the first song plays or your second song to deck number 2 and adjust its BPM to be the same BPM as the first song. Always tempo matches the next song asap as soon as you load it up. Once you’re done with that just wait until the first song reaches its outro section.
4. Important. At the exact moment, you reach the outer section, play your second song, and which of the beats are aligned with each other. If they are not simply use the jog wheels to correct the line of BPM’s together. You can verify this with headphone cue functions. Practice heavily with the cue functions to train your ears.
5. With both songs in sync, slowly lower the low knob of the current song and at the same time, slowly bring the volume of the next song up. Then at this point, start bringing the volume of deck 1 down, as you continue to bring the next songs’ volume up. This style of mixing is how I personally DJ and blend music all the time.
To continue on mixing, just reset deck’s 1 mixer section, then repeat step number 1 onwards, but on deck 1.Then start again from the original step 2.
Beat Grid Guide & Settings
If you’re having a hard time mixing your songs together it could be because of your bead grids. Here’s a quick way to adjust them on record box DJ. Click in grid edit and use either of the two buttons on either side to align the beat grid. You want that’d beat grid to be exactly where the beat starts.
Here is the way to adjust them on Serato DJ. Click Edit grid then click clear and position your song to the exact section where the beat starts and click set and save.
To get smooth crossfader settings and isolated EQ controls and record box DJ. Click the gear icon then click controller then click mixer then bring the crossfader curve to the 12 o’clock position. Then click isolator on the EQ setting.
To get smooth crossfader settings on Serato DJ, click the icon gear, then click mixer, then click the knob near the crossfader area and bring it to the 12 o’clock position.

